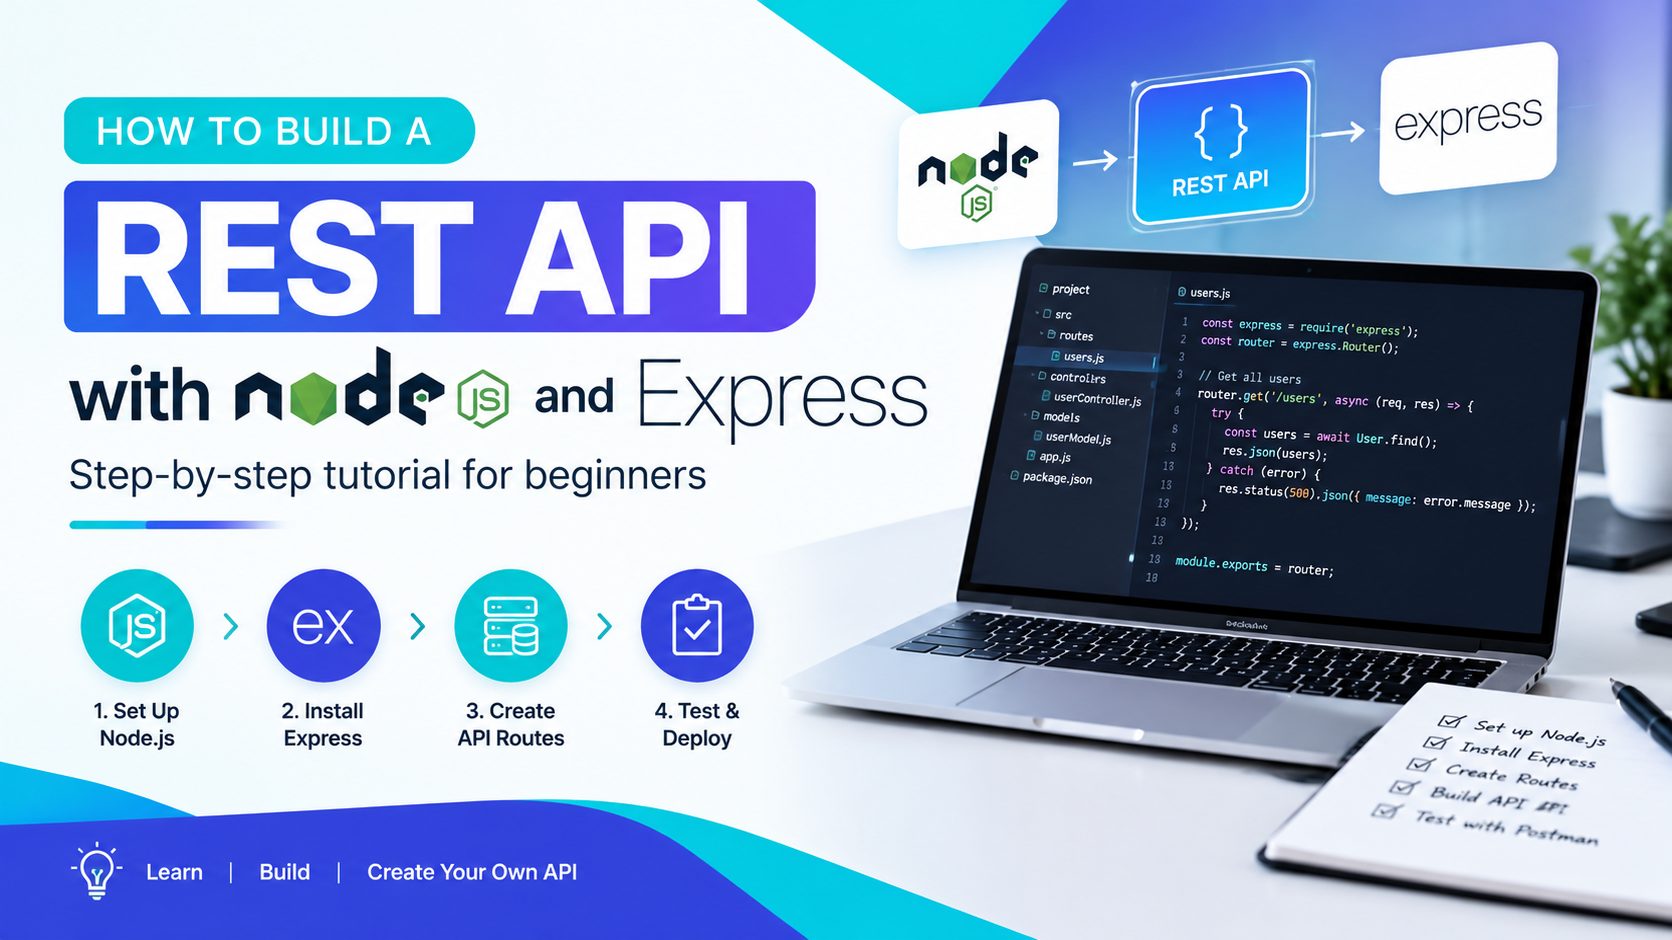
Ever wondered how apps like food delivery platforms or fitness trackers send data between your phone and a server? An API makes that conversation happen. The good news is that you can build one yourself in under an hour. In this guide, you will build a REST API with Node.js and Express from scratch, test it, and understand every line of code along the way.
No prior backend experience is needed. If you know basic JavaScript, you are ready.
What Is a REST API and Why Does It Matter?
A REST API is a set of rules that lets two programs exchange data over HTTP. One program, the client, sends a request. The other, the server, sends back a response, usually in JSON format. Think of it like a waiter in a restaurant: you order, the waiter carries your request to the kitchen, and then brings your food back.
REST stands for Representational State Transfer. It treats everything as a resource, such as a user, a product, or a task. Each resource lives at a URL, and you act on it using standard HTTP methods. GET reads data, POST creates it, PUT updates it, and DELETE removes it. Together, these actions are called CRUD operations.
Because REST is simple and predictable, almost every modern web and mobile app relies on it. Learning it opens the door to backend and full stack work.
Why Use Node.js and Express for Your First API?
Node.js lets you run JavaScript outside the browser. That means you can use one language for both the frontend and the backend, which makes learning much easier. Express is a lightweight framework that sits on top of Node.js. It handles routing, middleware, and requests with very little code.
Moreover, the ecosystem is huge. The npm registry offers thousands of free packages, and the community answers almost every question you can think of. For beginners, that support makes a real difference. So if you want a gentle start with server-side JavaScript, this stack is a smart choice.
What Do You Need Before You Start?
You only need a few tools. First, install Node.js (version 18 or newer) from the official website. Next, pick a code editor, and Visual Studio Code works well. Finally, grab an API client like Postman or Thunder Client, or just use curl in your terminal.
Check your setup by running these commands:
bash
node -vnpm -v
If both print version numbers, you are good to go.
How Do You Set Up Your Node.js and Express Project?
Create a new folder, move into it, and initialize a project. Then install Express.
bash
mkdir task-apicd task-apinpm init -ynpm install express
The npm init -y command creates a package.json file that tracks your dependencies. After that, npm install express downloads the framework into a node_modules folder.
Now create a file called server.js in your project root. This file will hold your entire API.
How Do You Create a Basic Express Server?
Start small. Add this code to server.js:
js
const express = require("express");const app = express();const PORT = 3000;app.use(express.json());app.get("/", (req, res) => { res.json({ message: "Task API is running" });});app.listen(PORT, () => { console.log(`Server running on http://localhost:${PORT}`);});
Here is what happens. The first line imports Express. Then express() creates your app. The app.use(express.json()) line adds middleware that reads JSON from incoming request bodies. Without it, your POST and PUT routes would not see any data. Finally, app.listen starts the server on port 3000.
Run it with node server.js, then open http://localhost:3000 in your browser. You should see your JSON message. Congratulations, your server works.
For easier development, use node --watch server.js, which restarts the server every time you save a file.
How Do You Build CRUD Routes for a REST API?
Now comes the fun part. You will build a simple task manager. To keep things beginner friendly, we store tasks in an array instead of a database. You can swap in a real database later.
Add this code above the app.listen call:
js
let tasks = [ { id: 1, title: "Learn Express", done: false }, { id: 2, title: "Build my first API", done: false },];let nextId = 3;// READ all tasksapp.get("/api/tasks", (req, res) => { res.json(tasks);});// READ one taskapp.get("/api/tasks/:id", (req, res) => { const task = tasks.find((t) => t.id === Number(req.params.id)); if (!task) return res.status(404).json({ error: "Task not found" }); res.json(task);});// CREATE a taskapp.post("/api/tasks", (req, res) => { const { title } = req.body; if (!title || typeof title !== "string") { return res.status(400).json({ error: "Title is required" }); } const task = { id: nextId++, title: title.trim(), done: false }; tasks.push(task); res.status(201).json(task);});// UPDATE a taskapp.put("/api/tasks/:id", (req, res) => { const task = tasks.find((t) => t.id === Number(req.params.id)); if (!task) return res.status(404).json({ error: "Task not found" }); const { title, done } = req.body; if (title !== undefined) task.title = String(title).trim(); if (done !== undefined) task.done = Boolean(done); res.json(task);});// DELETE a taskapp.delete("/api/tasks/:id", (req, res) => { const index = tasks.findIndex((t) => t.id === Number(req.params.id)); if (index === -1) return res.status(404).json({ error: "Task not found" }); tasks.splice(index, 1); res.status(204).send();});
Let's break it down. Each route pairs an HTTP method with a URL path. The :id part is a route parameter, and Express stores its value in req.params.id. The req.body object holds the JSON your client sends. Meanwhile, res.status() sets the HTTP status code, and res.json() sends the reply.
Notice the status codes. A 201 means "created," a 400 signals bad input, a 404 means "not found," and a 204 means "success with no content." Using the right codes helps other developers understand your API without reading your docs.
How Do You Handle Errors in Express?
Even good code hits unexpected problems. So add two small pieces of middleware at the bottom of your file, just above app.listen:
js
// 404 handler for unknown routesapp.use((req, res) => { res.status(404).json({ error: "Route not found" });});// Central error handlerapp.use((err, req, res, next) => { console.error(err.stack); res.status(500).json({ error: "Something went wrong" });});
The first function catches any URL you did not define. The second catches errors thrown inside your routes. Together, they keep your API from crashing and make sure clients always receive clean JSON instead of messy HTML error pages.
How Do You Test Your REST API?
Testing proves your endpoints work. Start the server, then try these curl commands in a second terminal.
bash
# Get all taskscurl http://localhost:3000/api/tasks# Create a taskcurl -X POST http://localhost:3000/api/tasks \ -H "Content-Type: application/json" \ -d '{"title": "Write my first test"}'# Update task 1curl -X PUT http://localhost:3000/api/tasks/1 \ -H "Content-Type: application/json" \ -d '{"done": true}'# Delete task 2curl -X DELETE http://localhost:3000/api/tasks/2
Prefer a visual tool? Open Postman, create a new request, choose the method, enter the URL, and add a JSON body under the Body tab. You will see the status code and response instantly. As a result, debugging gets much faster.
What Are the Best Practices for a Clean REST API?
A working API is a great start, but a clean API is even better. Follow these habits from day one.
Use nouns for URLs, not verbs. Write /api/tasks instead of /api/getTasks. Version your API with a prefix like /api/v1/ so future changes do not break existing clients. Validate all input, because you should never trust data from outside your server. Also return consistent JSON shapes, so clients always know what to expect.
Furthermore, keep secrets out of your code. Store settings like ports and database URLs in environment variables using the dotenv package. Add helmet for secure HTTP headers and cors if a browser app on another domain will call your API. For a deeper look at naming, versioning, and security, read our guide on REST API best practices.
What Should You Learn Next After Building Your First API?
Once your in-memory API works, three upgrades make it real. First, connect a database such as MongoDB with Mongoose, or PostgreSQL with a library like Prisma. That way, your data survives server restarts. Second, add authentication using JSON Web Tokens so only logged-in users can change data. Third, split your code into folders for routes, controllers, and models, which keeps larger projects tidy.
After that, consider rate limiting, automated tests with Jest and Supertest, and deployment to a cloud platform. Each step moves you closer to a production-ready backend.
If you want guided practice with real projects and mentor support, explore the Full Stack AI course at Milaaj Digital Academy. It covers backend development, databases, and modern AI tools in one structured path.
Frequently Asked Questions About Building a REST API With Node.js and Express
Is Express still worth learning in 2026?
Yes. Express remains one of the most widely used Node.js frameworks. Its simple design makes it ideal for beginners, and the concepts you learn transfer easily to other frameworks like Fastify and NestJS.
Do I need a database to build a REST API?
No, not at first. You can store data in an array while you learn, as we did here. However, real applications need a database so that data persists after the server restarts.
What is the difference between REST and GraphQL?
REST uses multiple endpoints, one for each resource. GraphQL uses a single endpoint and lets clients request exactly the fields they need. REST is simpler to learn, so beginners usually start there.
What does middleware mean in Express?
Middleware is a function that runs between the incoming request and your final response. It can read or change the request, end the request early, or pass control to the next function. Examples include express.json(), logging tools, and authentication checks.
Which HTTP status codes should I use most often?
Start with 200 for success, 201 for created, 204 for no content, 400 for bad input, 401 for unauthorized, 404 for not found, and 500 for server errors. These cover most everyday cases.
How do I keep my API secure?
Validate every input, use HTTPS in production, add the helmet package, protect private routes with authentication, and never commit passwords or API keys. Rate limiting also helps block abuse.
Can I use TypeScript with Express?
Absolutely. TypeScript adds type safety and catches many mistakes before you run your code. Many teams use it for larger projects, though plain JavaScript is perfectly fine for learning.
Final Thoughts
You now know how to build a REST API with Node.js and Express, from setting up the project to writing CRUD routes, handling errors, and testing with curl or Postman. Practice by extending the task manager with new fields, then connect a real database. Every small project builds confidence, and before long, you will design full backends with ease.