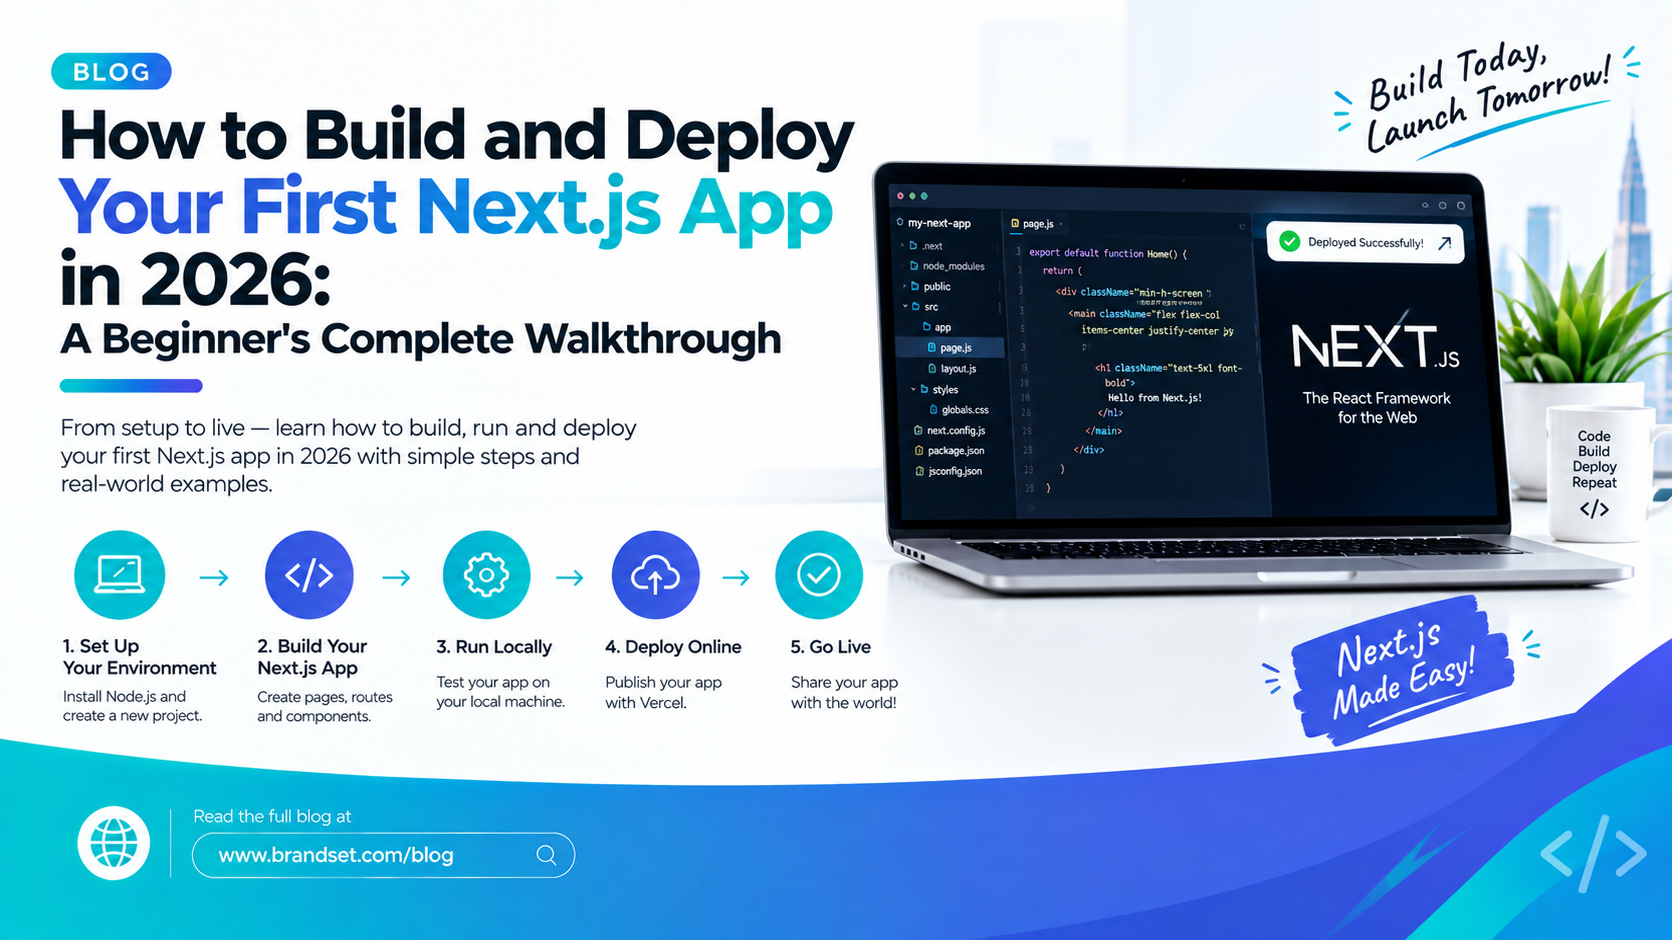
Every developer remembers their first deployed project, that moment when a link actually works and shows something you built, live on the internet. If you've been putting off learning Next.js because it looks intimidating, here's the truth: you can build and deploy your first Next.js app in under an hour, even with zero prior framework experience. Let's walk through the entire process together, step by step.
What You Need Before You Start
You don't need much to get going. Install Node.js on your computer, since Next.js runs on top of it, and make sure you have a code editor like VS Code ready. You'll also want a free GitHub account and a free Vercel account, since both play a role later when you deploy your project. That's genuinely it, no expensive tools, no complicated setup required.
Step 1: Setting Up Your Development Environment
Open your terminal and confirm Node.js installed correctly by typing node -v and npm -v. If both commands return version numbers, you're ready to move forward. This quick check saves you from confusing errors later, so don't skip it even if you're eager to jump straight into code.
Step 2: Creating Your First Next.js App With create-next-app
Here's where things get genuinely exciting. Run this command in your terminal:
npx create-next-app@latest my-first-app
This single command scaffolds an entire working project for you, downloading everything Next.js needs and setting up a sensible folder structure automatically.
Understanding the Setup Prompts
After running the command, you'll see a handful of configuration questions. Choose TypeScript if you want type safety, though JavaScript works fine too for beginners. Say yes to ESLint for catching common mistakes early, and yes to Tailwind CSS if you want a fast, utility-based way to style your app without writing separate CSS files. When asked about the App Router, confirm yes, since this is the modern, recommended approach Next.js has standardized around, and it's what you'll see in virtually every current tutorial and job listing.
Step 3: Exploring the Project Structure
Once the installation finishes, move into your project folder and open it in your code editor. You'll notice a few key folders worth understanding before you start building.
The App Router Explained for Beginners
Inside the app folder, every subfolder you create automatically becomes a route in your application. A file named page.tsx inside a folder called about automatically becomes accessible at /about in your browser, with zero manual routing configuration required. This file-based approach is exactly why so many beginners find the App Router intuitive once it clicks, since your folder structure literally mirrors your site's navigation structure.
Step 4: Building Your First Page
Open the file at app/page.tsx, and you'll see Next.js's default starter content. Delete it and replace it with something simple:
jsx
export default function Home() { return ( <main> <h1>Welcome to my first Next.js app</h1> <p>I built and deployed this myself in 2026.</p> </main> );}
Save the file, and you've officially written your first piece of working Next.js code.
Step 5: Adding a Second Page and Basic Navigation
To genuinely build and deploy your first Next.js app with more than a single page, create a new folder inside app called about, and add a page.tsx file inside it with similar content to your homepage. Next, add a simple navigation link back on your homepage using Next.js's built-in Link component:
jsx
import Link from "next/link";<Link href="/about">About</Link>
This gives you working client-side navigation between pages without a full page reload, one of the core performance benefits Next.js offers over traditional multi-page websites.
Step 6: Testing Locally Before You Deploy
Before pushing anything live, run your app locally to check everything works as expected:
npm run dev
Open your browser to localhost:3000, and you should see your homepage rendering correctly. Click through to your about page, confirm navigation works, and fix anything that looks off before moving forward. Catching mistakes here costs you seconds; catching them after deployment costs you considerably more frustration.
Step 7: Pushing Your Code to GitHub
Create a new repository on GitHub, then connect your local project to it using these commands from your project folder:
git initgit add .git commit -m "first commit"git branch -M maingit remote add origin YOUR_REPOSITORY_URLgit push -u origin main
This step matters because Vercel, the platform you'll use next, connects directly to GitHub repositories for seamless, automatic deployments going forward.
Step 8: Deploying to Vercel
Now for the moment you've been building toward. Log into Vercel, click to import a new project, and select the GitHub repository you just pushed. Vercel automatically detects that you're deploying a Next.js project and configures the build settings for you, so in most cases, you simply click deploy and wait. Within a minute or two, you'll receive a live URL, and just like that, you've successfully built and deployed your first Next.js app to the actual internet, accessible from any device, anywhere.
What to Do After Your First Deployment
Getting your app live is genuinely exciting, but it's also just the beginning. From here, experiment with adding more pages, fetching real data from an API, and exploring server components, one of the features that makes Next.js particularly powerful for performance-focused applications. Every change you push to your GitHub repository automatically triggers a new deployment on Vercel, meaning your live site stays in sync with your code without any manual redeployment steps.
If you want to go beyond this beginner walkthrough and build genuinely production-ready applications, our Full Stack Development course covers Next.js in depth alongside backend development, databases, and deployment practices used by real teams in 2026.
Frequently Asked Questions
Do I need to know React before I build and deploy your first Next.js app?
Basic React knowledge helps significantly, since Next.js is built directly on top of React and uses the same component-based structure. That said, plenty of beginners learn both together through hands-on projects like this one, picking up React concepts naturally as they go.
Is Vercel free to use for deploying a Next.js app?
Yes, Vercel offers a generous free tier that comfortably covers personal projects, portfolios, and learning exercises. You only need to consider paid plans once your project requires significantly more traffic or advanced enterprise features.
What's the difference between the App Router and the older Pages Router?
The App Router is the current, recommended approach in Next.js, offering features like React Server Components and improved layout handling. The older Pages Router still works but is considered legacy at this point, so nearly all new tutorials and projects use the App Router instead.
How long does it actually take to deploy a Next.js app for the first time?
Once your code is ready and pushed to GitHub, the actual Vercel deployment typically takes one to two minutes. The bulk of your time as a beginner goes into learning the initial setup and project structure, not the deployment step itself.
Can I use a custom domain instead of the default Vercel URL?
Yes, Vercel makes it straightforward to connect a custom domain you already own directly to your deployed project through its dashboard settings, and the process typically takes just a few minutes once your domain's DNS settings are updated.
Building and deploying your first real application feels genuinely satisfying, and Next.js makes that entire journey remarkably approachable for beginners in 2026. Once you've got this first project live, the natural next step is building something a little more ambitious, and every skill you just practiced here scales directly into bigger, more capable projects. For more beginner-friendly guides like this one, explore our digital marketing and development insights for practical walkthroughs you can follow the same day you read them.